Hello everyone, this is a preliminary explanation of the principles and process of DIY gameplay.
The game itself is purely an online battle royale wargame. However, during the design process, we found that if the development tools were open to players, could they make a better wargame than we did? So we had the bold idea of embedding an editor into the game, allowing players to experience the fun we had during the development process.
First of all, once you reach level 36, you will be able to access the “Editor" in the main screen! Here you can see the list of games edited by other players and like them.
![SYIAO43307OC]2{5ENWZ@MD](http://www.leiqigame.com/wp-content/uploads/SYIAO43307OC25ENWZ@MD-1024x575.png)
I. Character editing
Go to the editing screen on the left. You can start editing your character, or you can start editing the level. When you are ready, on the right you can edit your game name and promo image and submit it for approval.
![[8HP]YZH7V`D7]PZ$Y))3AU](http://www.leiqigame.com/wp-content/uploads/8HPYZH7VD7PZY3AU-1024x570.png)
Editing characters; characters can be edited in two ways, one for 3D characters and one for 2D characters.
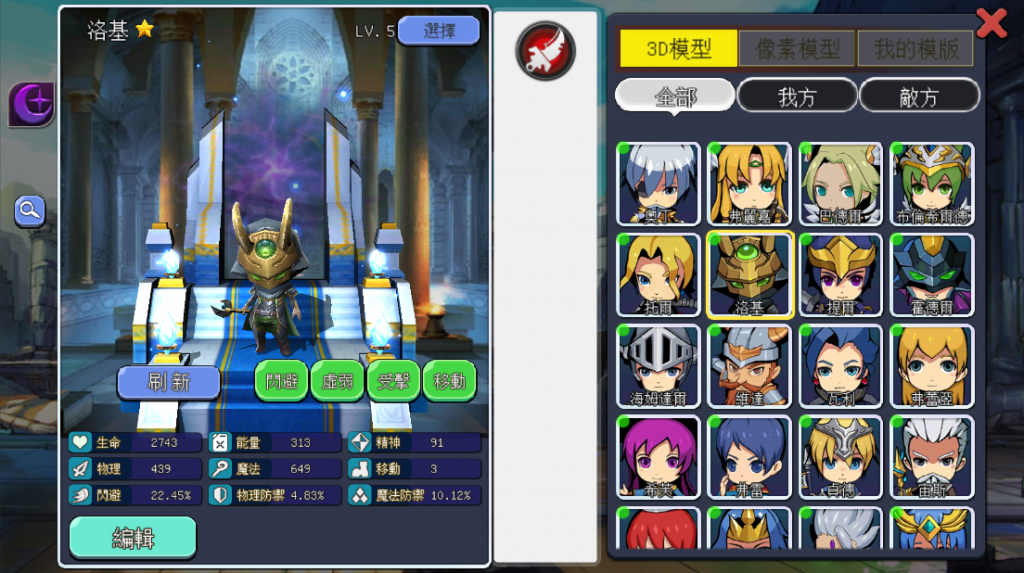
You can’t modify the 3D model, but you can give the character a name, redraw (which requires some art skills) decals and avatars, and original artwork.
![~SRC8%PU{]N~Y}HD%}D_00E](http://www.leiqigame.com/wp-content/uploads/SRC8PUNYHDD_00E-1024x576.png)
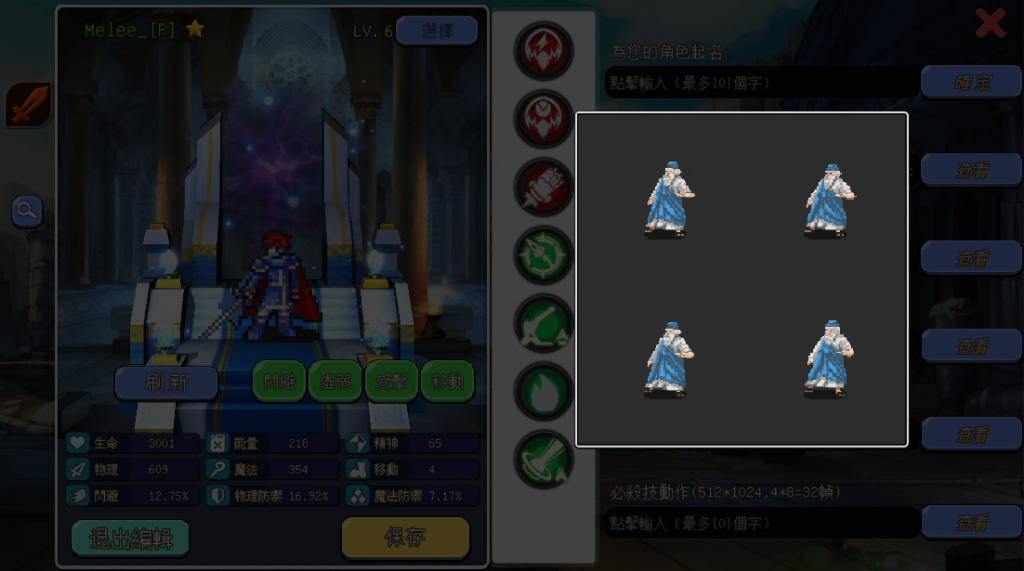
The second is the 2D method, which completely replaces the appearance and animation of the entire character, requiring a frame-by-frame animation of the character to be drawn and combined into a texture.
It total of 6 animations are needed for a character: attack, skill, move, stand, dodge and strike, and movement. Plus avatars and original artwork.
Let’s take standing as an example.
The stand up animation requires 4 frames of artwork to make up the whole movement. After making a total of 4 frames (4 frames of 128*128), stitch them together in a sequence from right to right, top to bottom, to form a whole 256*256 picture, this sequence will also be the frame animation sequence of the animation. Note that you must save the PNG format with transparent channels for the program to recognise it.
![RSN9SBEA4QD4@0I0]4V{~UT](http://www.leiqigame.com/wp-content/uploads/RSN9SBEA4QD4@0I04VUT-1024x574.png)
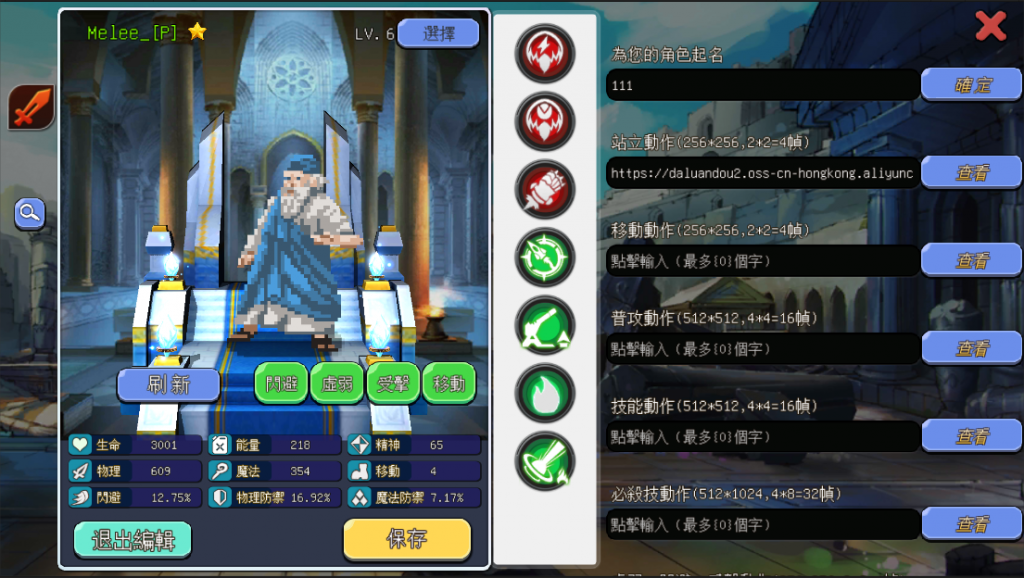
Once you have created your design, store it in your space, on your cloud album, and find the URL link to the image and enter the link URL in the edit window. Then let you save all your animations after you have designed them. This way you can see the characters you’ve designed and check that they play smoothly, etc. The saved characters will be in your library, waiting for you to use them in the edit level.
Remember, when you create a character, choose the character’s side (enemy or side) and select LV, the higher the LV, the stronger the ability and attribute.
Finally, here is a link to the URL of the character created in this example for you to try.
 |
 |
 |
 |
|
|
|
|
|
|
|
|
|
|